WHY DO I NEED SCREENCASTING?
Screencasting is a highly important tool in the tech world; although highly simplistic, its applications are tremendously vast, and thus, it can really make a definitive difference in proving and sharing knowledge and information. Be it for leisure activities such as sharing a film clip with a friend of yours, or recording or editing a minor tutorial on your macOS, the screencasting has got you covered. Mac does offer you this essential facility, as it is in-built into your Apple device. However, the built-in system can often fall short of expectations.
THE BEST ALTERNATIVE THERE IS:
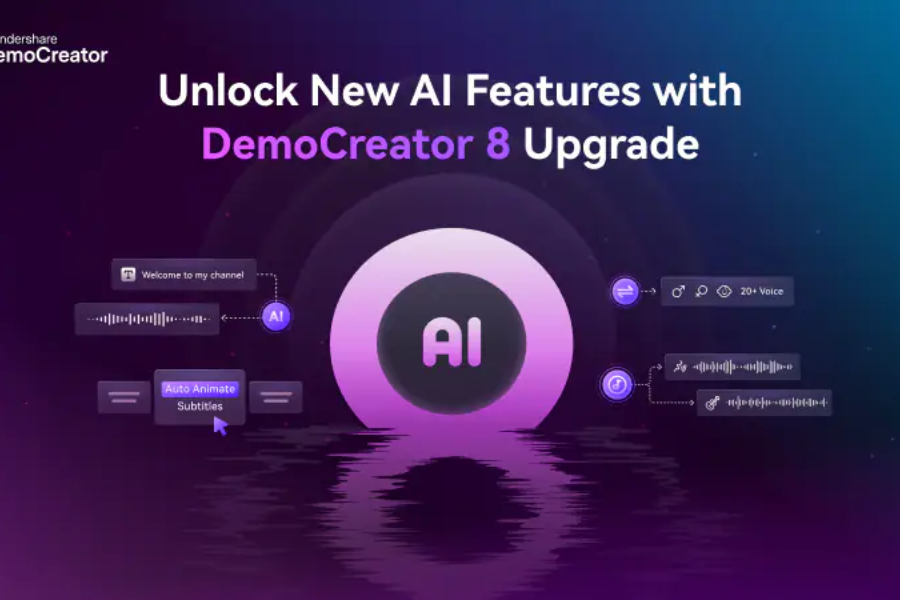
There are very few alternatives that come as close to getting the job done as the Wondershare DemoCreator downloadable software that enables you to record the events as they unfold on your computer screen, including video, in-display text, and audio (if any at all). Moreover, the Wondershare DemoCreator also provides you with a large variety of editing options that can help you create the perfect video. With a large template of annotations, tickers, captions, transitions, and effects, the DemoCreator is the undisputed best choice.
HOW DO I RECORD MY SCREEN?
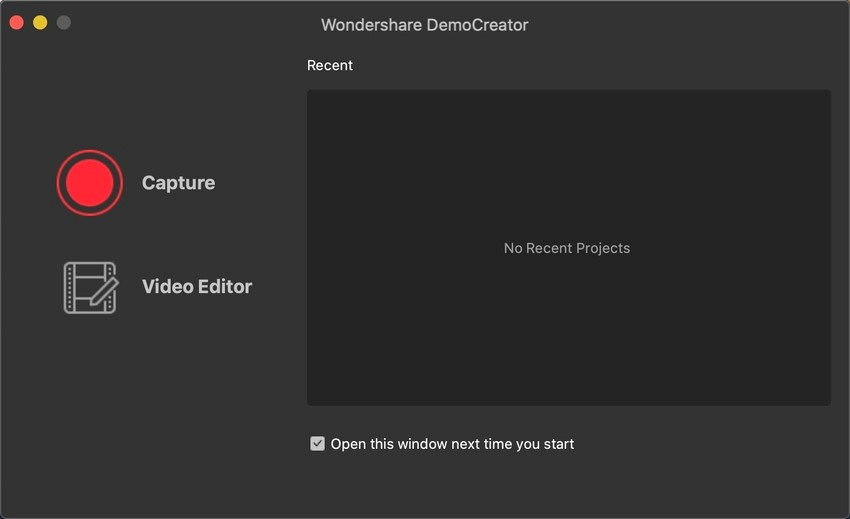
STEP 1 – First of all you need to go to Wondershare DemoCreator website and download and install the program. Startup the program and you can begin recording your screen by clicking on the New Recording button.
STEP 2 – A small window for controlling the recording will appear on your screen. You can resize the dotted border to adjust the area of the screen that will be recorded. While resizing, a convenient magnifier tool will allow you to make precise adjustments.
STEP 3 – There is a large plus icon at the top left corner of the recording area which you can drag to easily reposition your selected recording area. If you wish to revert to full-screen recording then simply press the Shift+F keys.
STEP 4 – The right side of the window contains the audio and webcam icons. You can click on either to toggle audio and webcam video recording respectively. The devices must be securely connected to your device for best results.
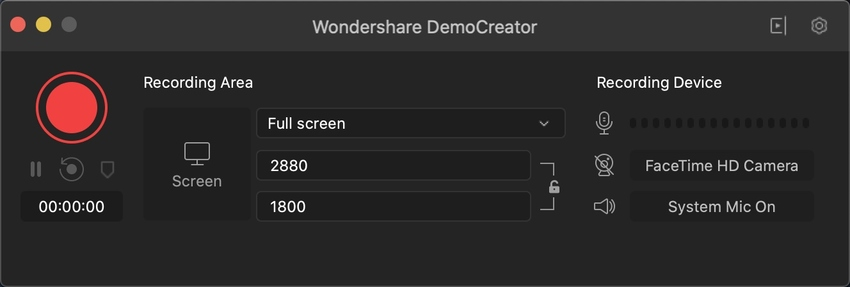
STEP 5 – A slider allows you to conveniently adjust the microphone audio recording levels for your screen recording.
STEP 6 – Once everything is set up and you feel ready, just click the big red button to start the recording. You can also press the F10 key to begin recording your screen.
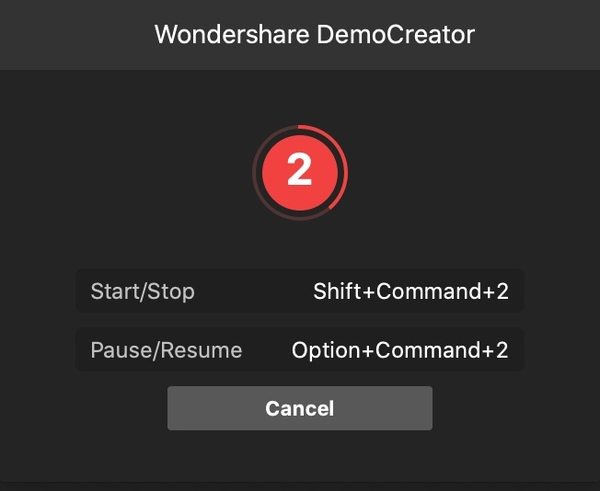
STEP 7 – Once you have pressed either of the buttons to start the recording, Wondershare DemoCreator screen recording software will begin a 3-second timer before your screen recording is started.
STEP 8 – During the recording if you feel the need to pause the recording simply press the pause icon or just press the F9 key on your keyboard. Similarly, you can resume recording by pressing the resume icon or again pressing the F9 key.
STEP 9 – Once the desired content has been recorded you can simply end the recording by either pressing the red End recording button on the menu or using the hotkey F10 to end the recording.
STEP 10 – Once the recording stops it is saved to the specified location and will be automatically available in the video editor.
HOW DO I EDIT MY VIDEO?
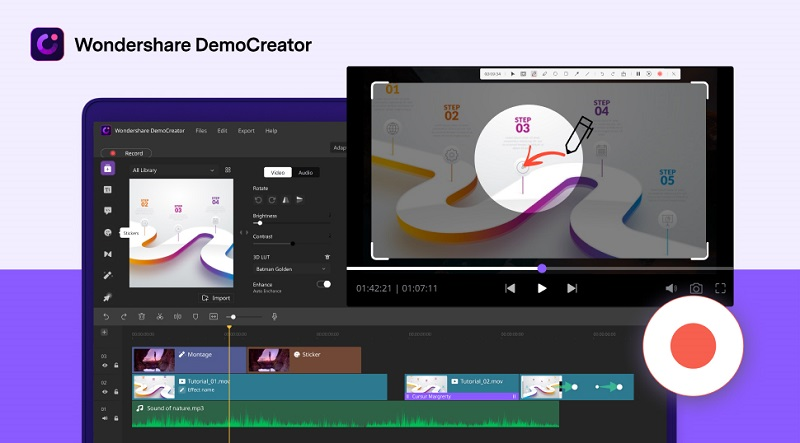
The video editing interface contains 4 main areas of focus. These are the timeline, properties window, preview screen, and the media library.
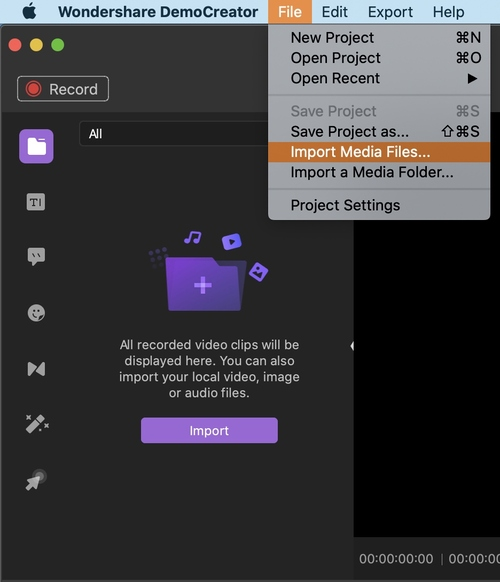
The media library can be used to import any media files. It also holds a rich collection of effects, montages, and transitional effects as well as annotations and cursor effects. Media in the library can be simply dragged and added to the timeline.
It is quite easy to mute a clip or detach its audio for separate editing once it is added to the timeline. Simply right-click the clip in the timeline and click on ‘Mute Audio’ to mute the clip. Similarly, you can detach audio by right-clicking on the video and selecting ‘Detach Audio’.
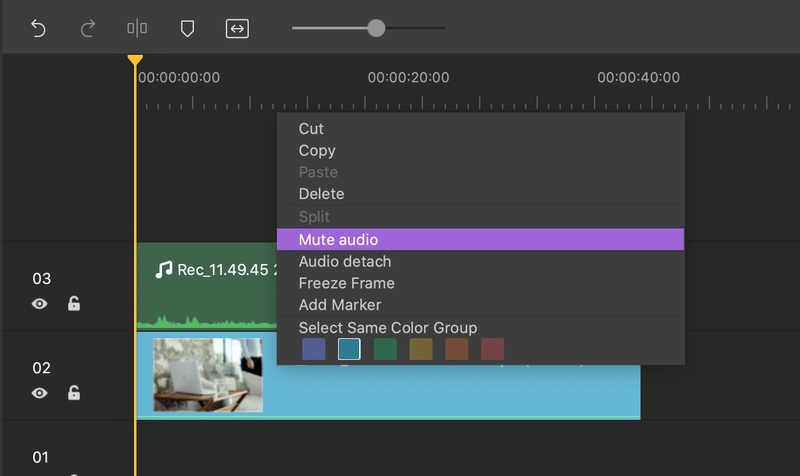
A separate audio file will be added to the timeline as the detached audio and can be edited independently. Files on the timeline can be split, cut, copied, or deleted as per your requirement. You can add various markers and freeze-frames as well.
You can adjust the size of the scale of the imported clips by clicking and dragging the corners of the video displayed in the preview window. The properties window is another user interface that allows you to also resize a video as well as adjust options like compositing, video speed, and transformation. It is very easy to use.
In addition to captured videos, you can also import and edit your own local videos. It is possible to adjust the volume for your clips, denoising the audio, adjusting the playback speed, and the duration of the clips.
You now possess all the knowledge you need to create the perfect video!
DOES DEMOCREATOR REALLY GET THE JOB DONE?
The answer is obviously yes! DemoCreator stands out due to some very special reasons.
Most importantly, it accumulates all the major editing tools you’ll need to take care of not only your academic tasks but also any professional work. The wide range of templates offered is unparalleled, and you can salvage a masterpiece with ease. Download for free, commence making brilliant video edits, and upload to online platforms of your choosing Now.