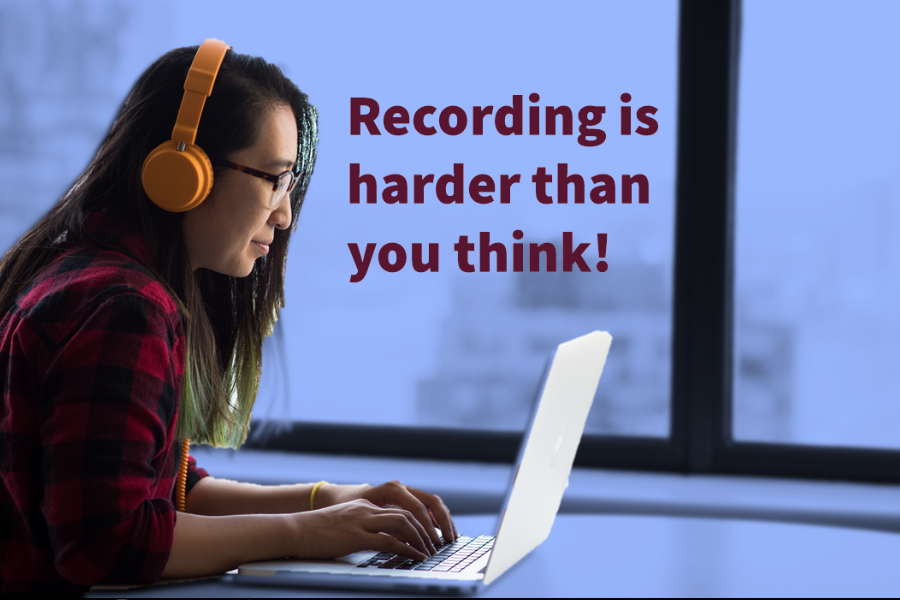
We have all tried standing next to our screens and recording our presentations, having no clue whether the writing on the screen shows or not. Preparing PowerPoint Presentations with such devotions but not being able to give a good presentation because of the video quality is quite the heartbreak. This is why record powerpoint presentation is very important. Whether you are presenting in the moment or want to pre-record it to give extra effects, it will serve you beneficially.
While there are many ways to record your presentations, using Wondershare DemoCreator gives you high quality activity and an easy-to-use experience. The downloadable software allows you to screen record your PC along with audio and video-cam recording to create personalized videos. It allows you to export the video and save it as MP4, MP3, MOV, WMV, AVI, GIF, etc. as well.
Download and Install
It is fairly easy and simple to download the software; you’ll follow the same steps as for any other file. To avoid a scam and harm to your computer, make sure you download it from the official website. After the downloading process, click open the file and follow the instructions for the installation process to initiate.
How to Record your Presentation in 3 easy steps
Everyone has a busy schedule and a ton of work to do. After spending an elaborate amount of time creating your presentation, you want to get done with the video recording part quickly. This is where the Wondershare DemoCreator comes into play; it makes it extremely easy to record while viewing or during an ongoing presentation.
Step 1:
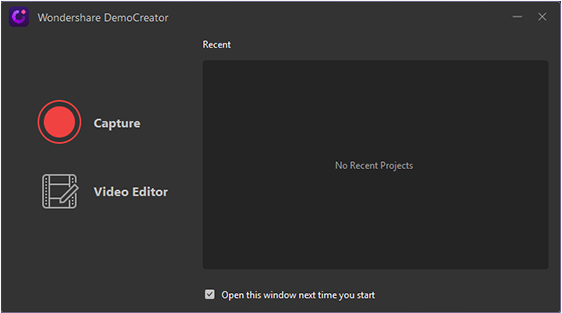
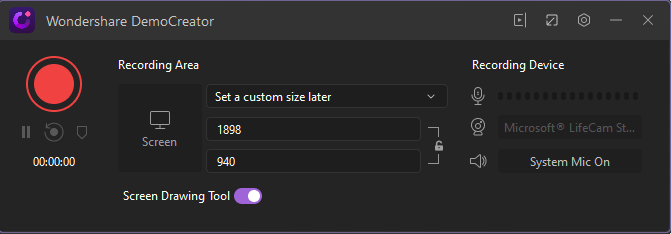
Upon opening the app, a window will appear in front of you. Click ‘Capture’ if you want to start screen recording. Following this, a window will appear showing you the screen size you will need. There are three options out of which you can select your preference; you can manually type the dimensions of the screen that you require as well.
Step 2:
After this, you can also set your recording device. Here the webcam option will let you record from your webcam or device’s built in camera. You can also control whether you want to use the system’s mic or a separate microphone. You will be able to turn all three of these things on and off as you will.
Step 3:
Setting your recording screen size means you are good to go. You can now start recording. A few quick tips to remember is that the F9 key on your keyboard can be used to pause or resume the recording whilst the F10 key allows you to stop recording.
Editing
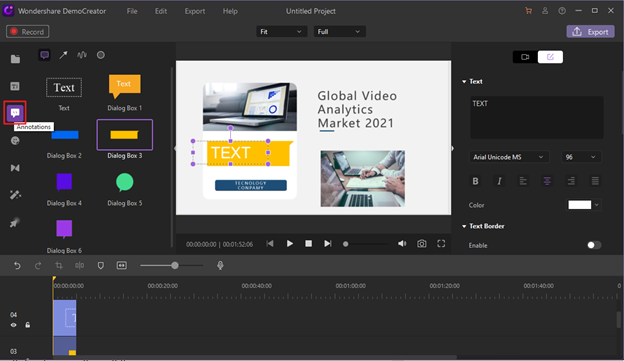
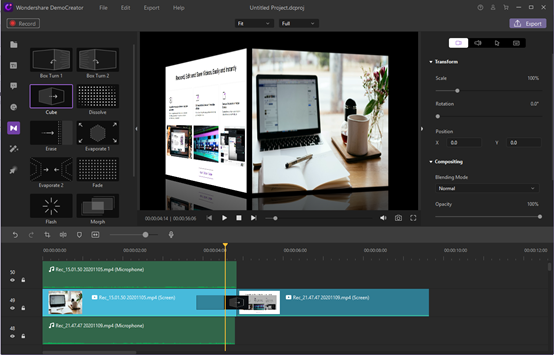
Once you have finished recording, you automatically get directed to the editing window where you can customize your video the way you please, making it more innovative. It helps you crop, rotate, edit and merge videos to make it more interactive. There are many things you can try like annotations, stickers, transitions, green screen effects etc.
● Annotations: These are small text boxes that you can insert anywhere you like in the video and explain the context wherever needed.
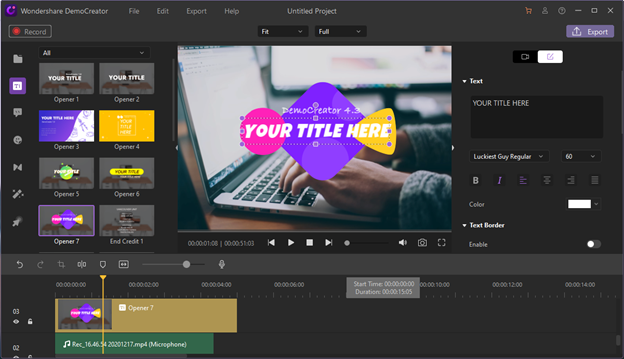
● Captions: You can add different effects to your captions to make it more captivating. You can make your video more interactive by adding themes, title, subtitles and more.
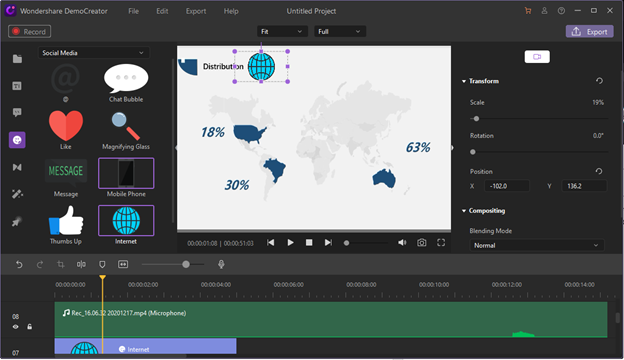
● Stickers: You have the option of adding stickers of your choice to different parts of the video to make it more colorful and appealing.
● Transitions: This effect allows enchanting transitions in between different scenes. The transitions include swirl, fade, erase, morph, etc. and a different transition can be added to each changing slide or video.
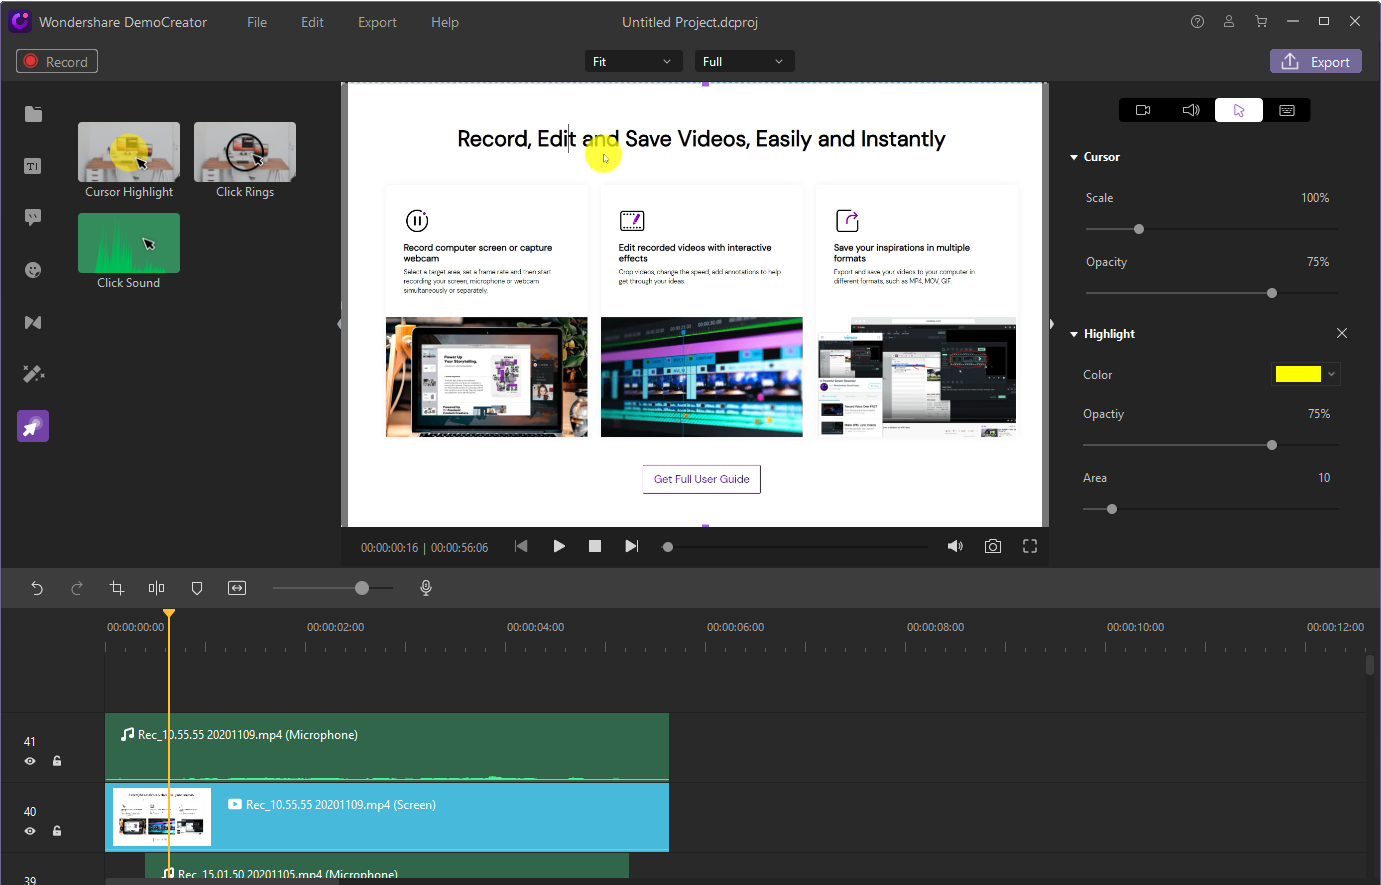
● Cursor: This feature allows you to customize your cursor. If you want to bring attention to a specific part of your video, you can highlight your cursor or even add a ring and click to the sound. This effect is also present on the left side of the window along with transition effects, stickers, captions, annotations etc.
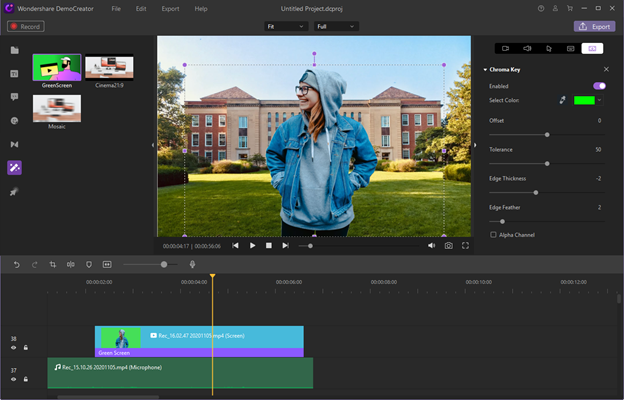
● Green Screen: You are presenting but the background is not suitable? Well no worries because this app also has an authentic green screen feature. You can optimize your background by changing it easily and create the perfect atmosphere for your presentation.
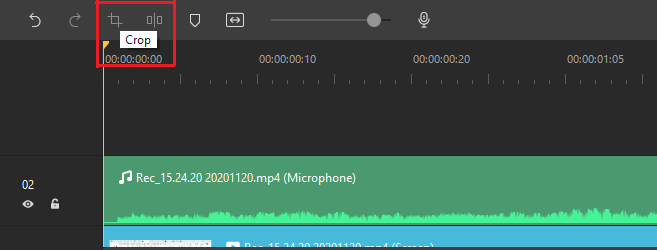
● Crop and Split: The crop and split icons are present next to each other. You can crop the video according to your preferred ratio. At the same time, the split feature allows you to dissect the video into different parts. You can cut the portion of the video and adjust it onto some other part or remove it altogether.
● Snapshot: the software also allows you to take snapshots of the screen in different parts of your video to include those pictures later on if needed. Later, you can crop the picture in dimensions that suit you best.

● Noise Removal and Voiceover: This option allows you to record and add audio to the video in case you think the description missed something or you want to add additional information. Moreover, you can also remove the previously existing audio from the video in case you think it is invalid or do not want it. Instead, you can replace it with a new one that you desire.

All of these features that are available in the Wondershare DemoCreator allow you to customize your video according to your own preference, making it more interactive.
Conclusion
It’s time we forget the old, lesser convenient ways of making presentations and opt for the conditions that are faster and easier to do. This video and audio recording app is free to download and is there to make our life simpler.
DemoCreator is definitely reliable and offers a ton of features and tools to make your video great. Whether you are a professional or a novice, you will get the most splendid experience from this video and audio recorder.