


Videos are an excellent way to engage with people and build an audience. Videos can be made to promote a wide range of things including products, ideas, vision, and pretty much everything. These videos can be uploaded on different platforms such as YouTube, other social media websites, or even your own personal website and are highly popular and watched by people all over the globe.
Tutorial videos and their relevance
There are several different types of videos that you can make that can be engaging for your audience. One such type is tutorial videos. These videos are highly popular as people tend to search the internet for things they don’t understand. These are also known as “How-to” videos.
When making a tutorial or any kind of video, using a webcam recorder to record webcam footage can enhance the video and can take it to the next level. It helps you engage with your audience and helps viewers relate with you and the contact.
Irrespective of whether you want the webcam footage to be at the corner of your tutorial or training video or you want to start with it, here is a comprehensive step-by-step guide on how to create and record a video using a webcam and a simple, free-to-download software, Wondershare DemoCreator.
Best webcam recording software in the market
Webcams are a versatile tool that add a personal touch to your videos; they give the impression that you are talking directly to the audience. They can be used when making YouTube videos, explainer videos, and instructional videos and add to the beauty of the video.
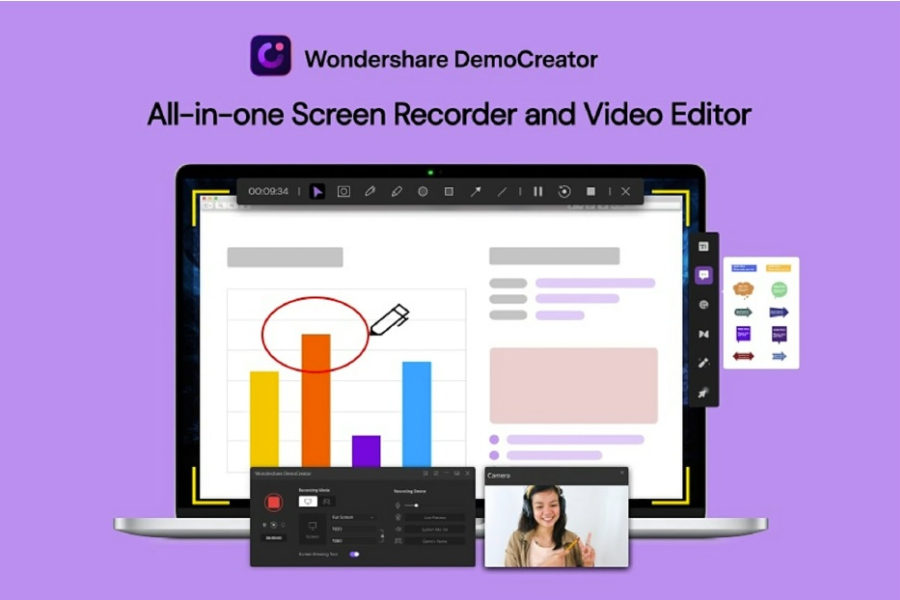
For simple webcam videos, any webcam recorder is adequate to use. However, when making product demos, training videos, or any type of explainer video, it is pivotal that you use high-quality screen recording software. This is because you want to capture everything on the screen in high resolution. For this purpose, Wondershare DemoCreator is the best software available because it offers you features of a webcam and a screen recorder, both. It also has a plethora of editing features and tools that will make your video interactive, informative, and interesting.
Here is a step-by-step guide on how to start recording your screen and webcam using Wondershare DemoCreator.
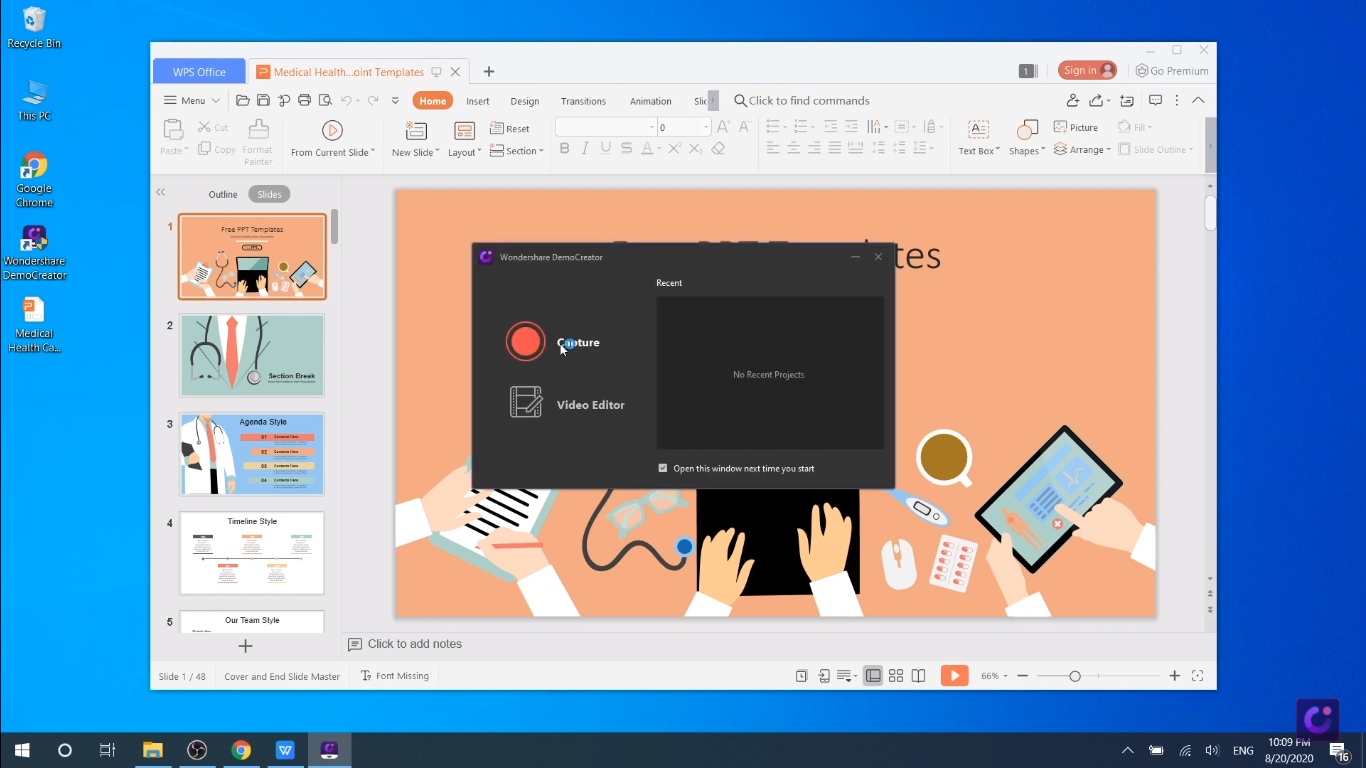
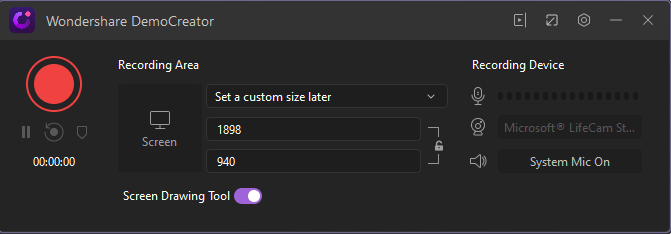
Step one: adjust your settings to your liking
This can be done by clicking on capture and adjusting the setting from the options provided.
You can choose between recording the whole screen, or a specific part of the screen (including the webcam), and can adjust the frame rate from 15 to 120 fps.
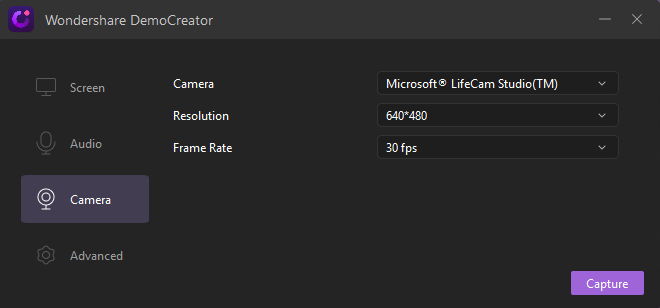
You can also choose camera settings of your choice from the many options DemoCreator provides. You can also choose to record webcam videos and choose the frame of your choice.
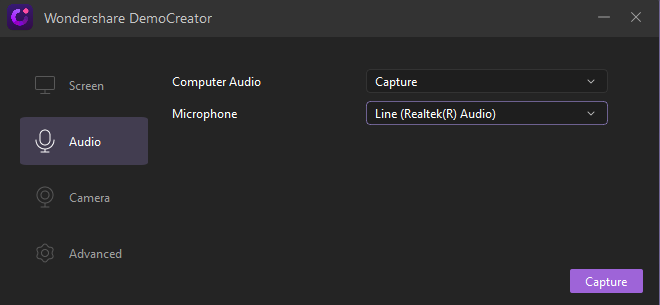
Furthermore, the audio can also be adjusted. You have the choice between using the built-in mic of the computer or a recording device. This can be chosen from the audio set up. We recommend using an external microphone to reduce noise and increase quality.
Once the settings are to your liking, it’s time to record the screen. Simply click on capture or press the F10 key to begin and terminate the recording.
Step two: editing your video to perfection
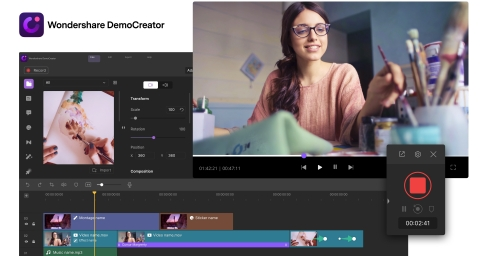
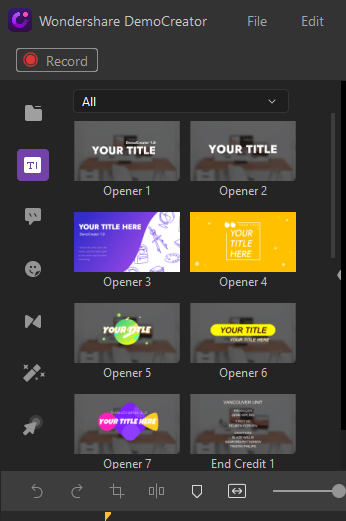
This is perhaps the most crucial part of making a video – editing. Good editing can make an average video look phenomenal and vice versa. DemoCreator offers a wide variety of different editing tools that will make your video look beautiful and will capture the attention of your audience.
These tools include titles, transitions, captions, stickers, annotations, and plenty of other things. While editing, you can easily remove bad takes, unnecessary things, and mistakes. You can add titles, transitions, annotations, and more additions to make sure your viewer understands your video and can help make it more aesthetically pleasing.
You can add captions for people who may have hearing issues or cover places that have poor audio quality. You can trim or cut out all the mistakes that you made during the recording of the video. In addition, you can also add background music – something every video should have.
You can find all these options from the media library present at the top left corner of the screen under the record button.
Furthermore, when editing, you need to decide whether to use the webcam footage at the beginning of the video or at the top of your video. Make the decision based on which method suits your audience the most and would get the message across effectively.
Using webcam footage at the beginning
Firstly, drag the webcam footage to the timeline on the Wondershare DemoCreator. Then, position the rest of the video after the webcam footage. This way when the video is finally played, it will show the webcam footage first and then the rest of the video will be played.
Using the webcam footage at the top of your video
This can be done by dragging your webcam footage from the media file on our computer to the timeline on the app. After that, drag the footage to the track above the video and reposition or resize it as you please. Think of the tracks as stacks of pictures. Everything under the uppermost track can be covered by what’s on top.
Exporting the video
Once you’re done editing and have made the perfect video, it’s time to export the video. Wondershare DemoCreator enables you to export the video in a variety of different formats; this includes MP4, WMV, AVI, MOV, GIF, and MP3.
The internet has changed the world in ways that we cannot even imagine. The advent of the Internet has made people produce and consume different types of content, videos being people’s most preferred mode of taking in content. Usage of webcam footage when making instructional, explainer, training, or educational videos has become very popular these days.
More and more people are uploading such videos and are gaining a lot of views. Although it may seem difficult to make and edit, Wondershare DemoCreator makes video editing simple and easy even for people who aren’t tech-savvy. So download the software today and get started on your YouTube channel.


